Tips for Making Graphic Novels!

 As students become interested in reading graphic novels, many will undoubtedly want to try creating their own. This is a great way to get students excited about reading and art! Encourage this enthusiasm and offer these tips for making a graphic novel.
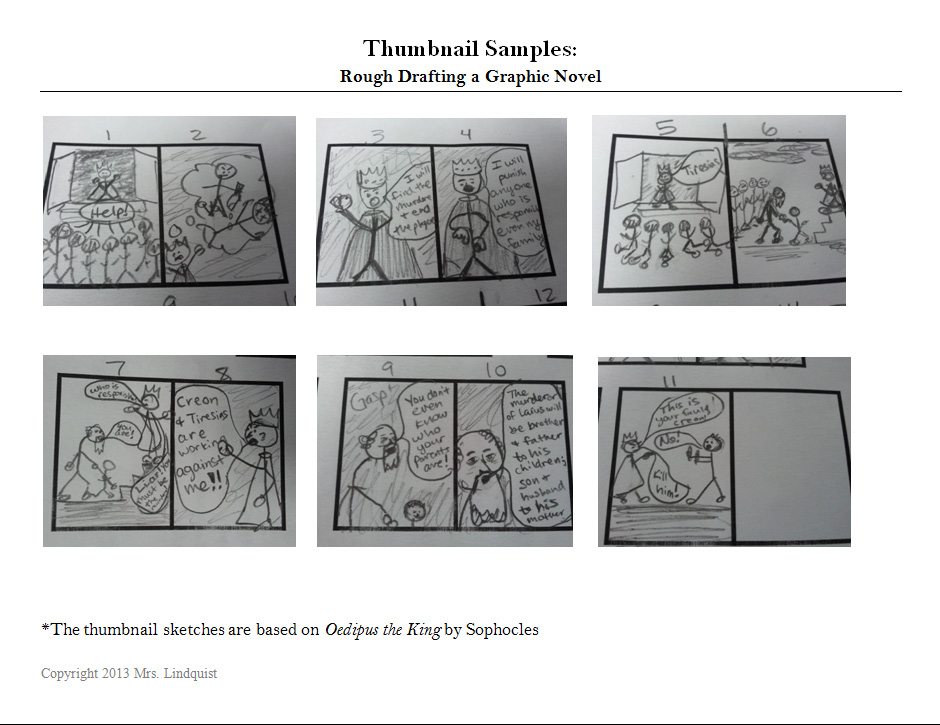
In fact, I used this in my classroom as a way to get students to understand a tough text, Oedipus Rex by Sophocles. We started by going through each scene as a group and coming up with five main ideas for the section. Then we each made thumbnail drawings to represent those five scenes. By the end of the play, most students were able to pick out the five main summarizing notes for each section independently. Once we had all the thumbnails complete and it represented a clear beginning, middle, and end, we divided the thumbnails evenly and each student created a full page to be included in our Oedipus Rex graphic novel. Making a graphic novel didn't make the students love the text (they still thought it was difficult and "weird"), but it did encourage them to make a visual connection with the text which aided their understanding. Check out the tips below!
|
Step 1 - Just as with any form of writing, the brainstorming process is key. Consider the following questions in your brainstorming process: What is your story going to be about? What is the conflict? Who is in your story? Where and when does the story take place? Is it a true story or did you make it up? Step 2 - Once you have an idea of what you want your story to be about, it's time to practice drawing. Encourage students to draw several sketches a day, especially of characters. The more they draw, the more comfortable they will get with the process and the more developed their characters will be. Remind them to draw their characters from different perspectives, too! People have a tendancy to avoid drawing anything that is new or difficult for them (ex: hands), but it's important with comics that the characters move across the pages.
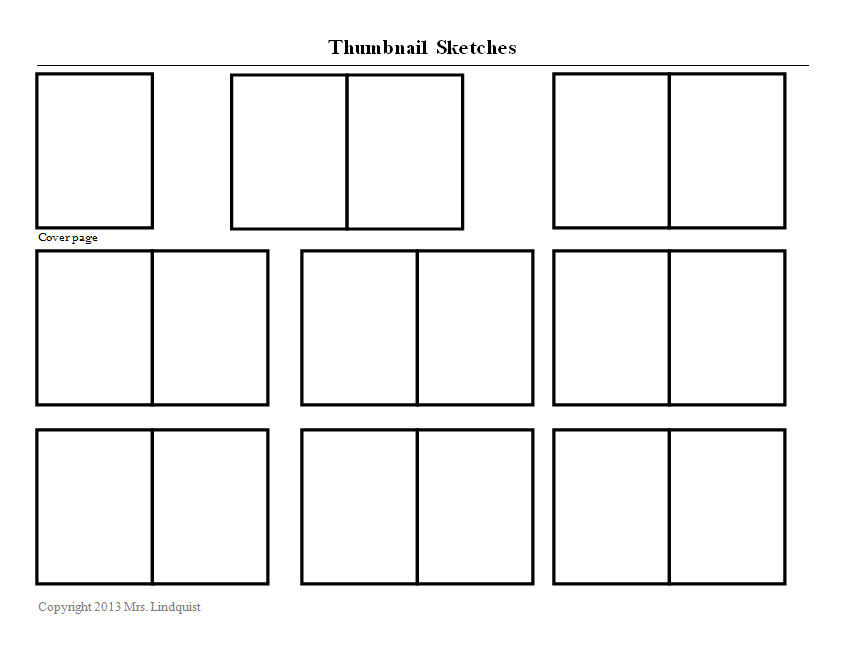
Step 3 - It's time to hash out those rough ideas from brainstorming. Come up with a basic plotline for your story. Remember, plot includes: 1) Exposition (setting and characters), 2) Conflict (the problem of the story), 3) Rising Action (the events building up to the climax), 4) Climax (the most exciting part of the story; the turning point), 5) Falling Action (wrapping up the story), and 6) Resolution (the conflict has been resolved). Step 4 - Now it's time to combine your plot with your drawings in a step called Thumbnail Sketching. Essentially, you have a series of 1.5" by 2" boxes on a piece of paper that will contain the simplest version of the drawings that will ultimately be in your graphic novel. Step 5 - Now you're ready to pencil in each page of your graphic novel. This will include the setting, characters, and dialogue in speech bubbles. Be sure to draw lightly as you will go over your final copy in pen / ink! Step 6 - Go over your penciled drawings with ink and watch your drawings come to life. Step 7 - Don't forget to erase any pencil markings after your ink has dried! See "How to Create a Graphic Novel" on Wiki How for more great tips and pictures. Enjoy your graphic novel! :) |
Above: thumbnail sketch template
Above: sample thumbnail sketches from Oedipus Rex by Sophocles. |