DIY Personalized Name Plate

 My classroom needed some of my personality. When I first started teaching, I tossed together some bulletin boards and didn't touch them again for 3 years! Instead, I focused my attention on the curriculum, lesson planning, and assessments. While these are obviously important, it became apparent that I was not taking full advantage of my room. The classroom environment should feel welcoming and safe, not sterile. So I spent my summer looking at Pinterest and coming up with little ways to spice up the classroom. Here was one way to bring in color and show off my personality.
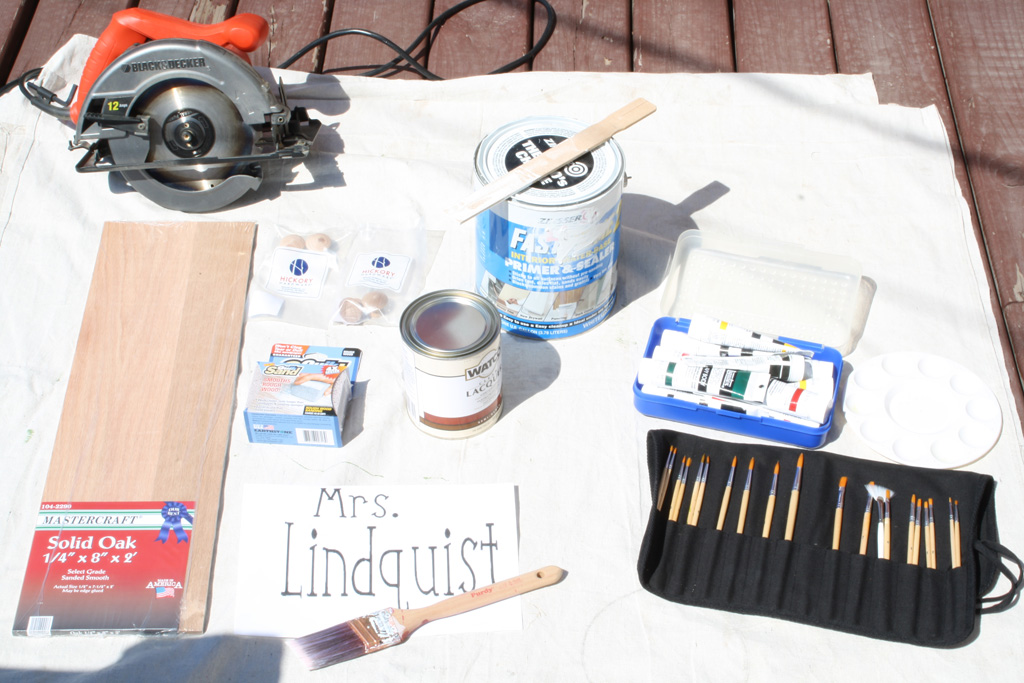
Materials (cost is between $7.60 - $55 depending on what materials you have on hand):
- 1 piece ¼” x 8” x 2’ oak board ($5.44)
- 1 pencil
- 1 tape measure
- 1 miter saw (or circular saw)
- 1 piece Sandpaper or Quiksand Rough Wood block ($3.97)
- 1 drop cloth
- 1 paint brush, 2” is sufficient
- 1 can primer ($12)
- 4 wooden knobs, 1 ¼” ($2.16)
- 1 set acrylic paints (at least black, white, blue, red, and yellow) – ($10)
- 1 set black, silver, gold paint pens ($5.99)
- 1 small can Clear lacquer ($8.98)
- 1 hot glue gun ($5.00)
- 1 stick glue
- 1 roll ribbon ($1.00)
- 2 Hooks ($1.00)

|
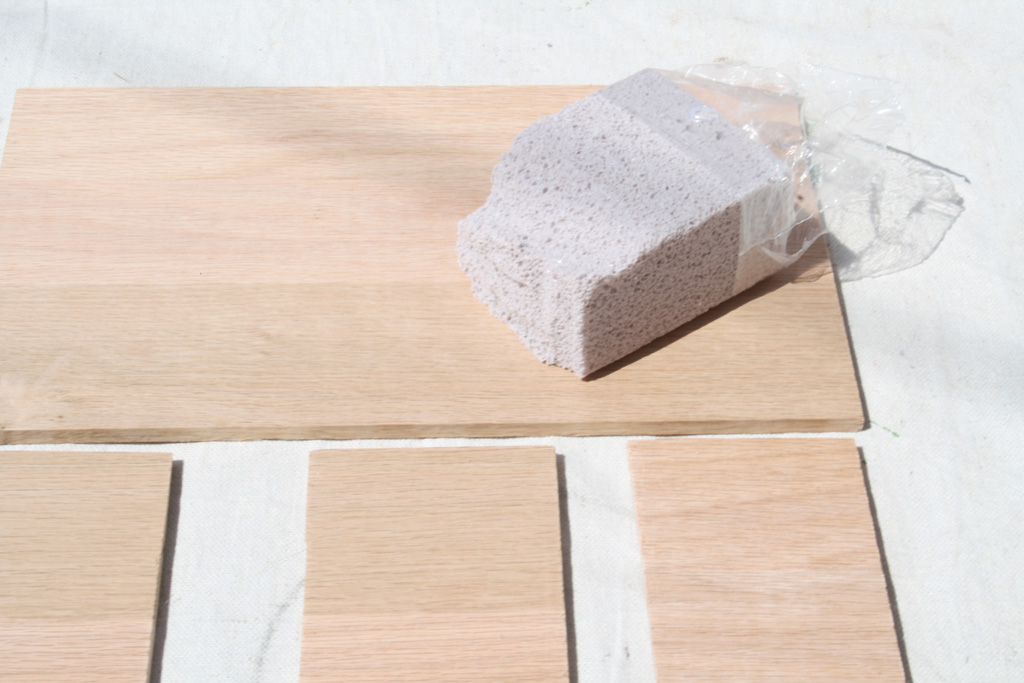
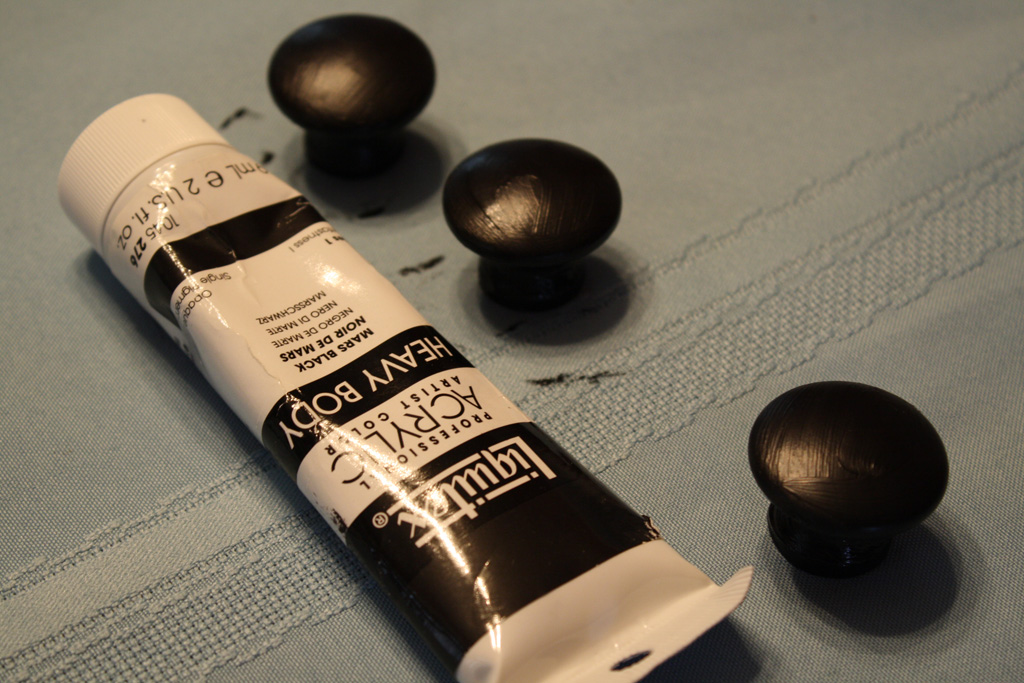
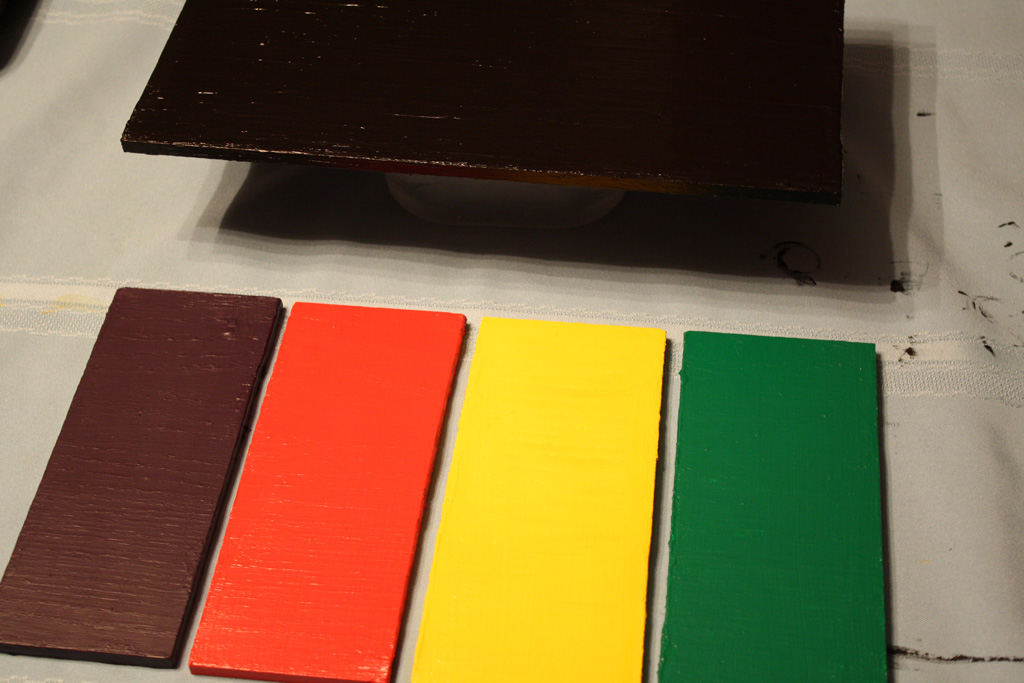
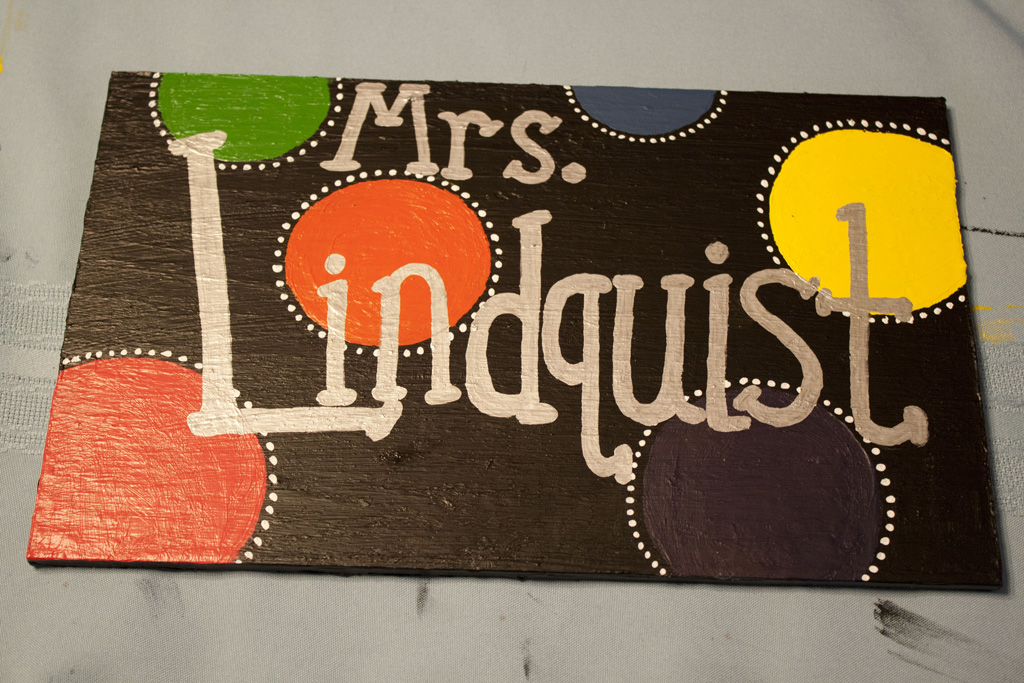
Step-by-Step Instructions After you have gathered all your materials, you need to find a safe work space. I decided to do all the cutting outdoors on our deck to avoid getting sawdust all over the house and to ensure I would have enough room to work. After cutting, I primed outside and let it dry. Then, I moved my work station inside to the dining room table. It worked out well and mostly stayed out of the way of my husband. :) STEP 1: Mark the board four times at three inch intervals. These will be your hall passes; the remaining larger piece of board will be where you post your name. Then use the miter saw to make the four cuts. STEP 2: Sand the edges of each piece and wipe off sawdust. STEP 3: Lay out the drop cloth and prime the tops and sides of each piece. If drying in the sun, allow about 1 hour; allow longer if drying indoors or if it is particularly humid. STEP 4: While waiting for the boards to dry, start painting the wooden knobs. I painted them black first; allowed 20 minutes to dry and then put a white swirl pattern over it. STEP 5: Flip the semi-primed boards over and finish priming on the other side. Again, allow at least 1 hour in the sun to dry. (*It is recommended that for primer to fully cure it will take 7 days; by painting it sooner, the longevity of the primer could be compromised). STEP 6: Paint each board the background color of your choice. I painted my name board black and each hall pass a different color. Allow 30-60 minutes to fully dry. STEP 7: Paint decorations on the name board and hall passes and allow a minimum of 3 hours, or until it is no longer tacky to the touch, to dry. Rushing this project will only cause frustration. STEP 8: Then use the paint pens to write the appropriate names on each board: 1) Mr. / Mrs. Last Name, 2) Bathroom, 3) Locker, and 4) Office. Allow at least one day to dry. I rushed mine and almost had to start over! STEP 9: Cover all boards and knobs with clear lacquer. Allow at least 1 day to dry or until it is not tacky anymore. STEP 10: Use a hot glue gun to glue the ribbon pieces to the back of each hall pass. STEP 11: Attach the two hooks to the top of the name board. Then loop the ribbon through the hooks and tie each end. STEP 12: Attach the knobs to the name board. Finally, hang each hall pass from a knob! |
|