DIY Polka Dot Chair - Great summer project!!

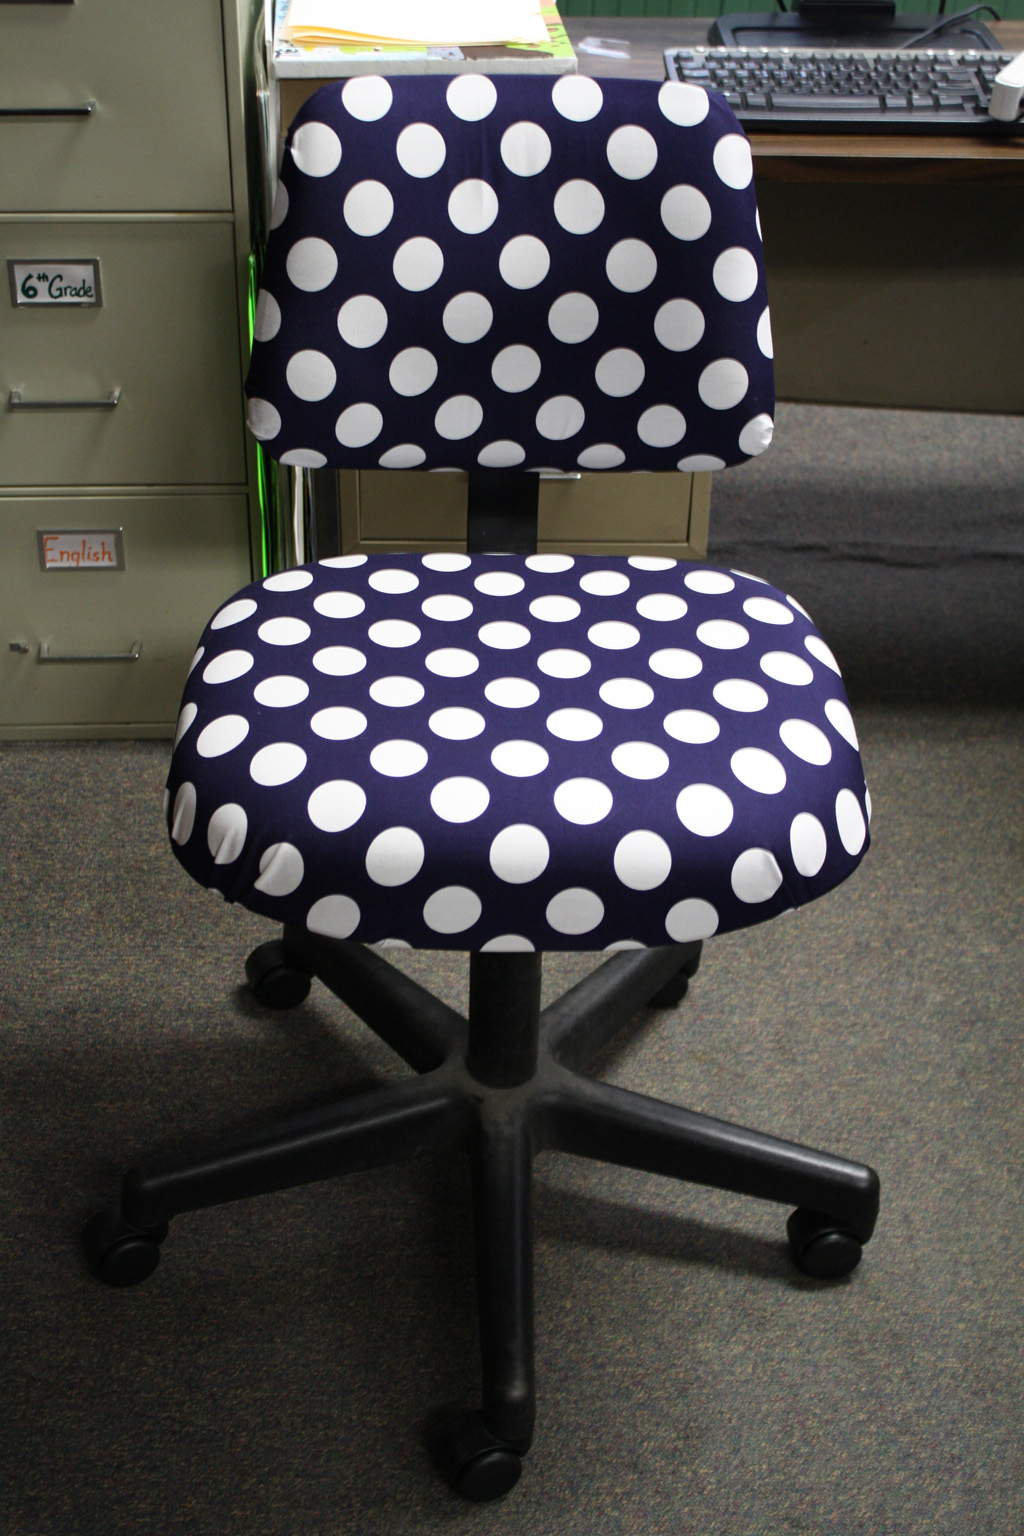 Inspired by Pinterest and the HGTV / DIY channels, I decided to recreate my boring old desk chair into something I'd be excited to sit in! My chair was ok before, but I wanted something that reflected my personality. I searched around the local fabric stores for the perfect fabric. In the end, I found it at Walmart of all places.
To make your own awesomely redone new chair, all you need is a staple gun, a desk chair, screwdriver, and some fabric ($10 for two yards at Walmart).
Step 1 - Gather all your materials together. First, I went to Walmart to purchase my fabric (at only $10 for two yards!!). It is thin fabric and I have been told by more than one person it won't last long (apparently I was supposed to buy upholstery fabric), but I used it for one whole school year without any tears, rips, or issues. So there! Take that naysayers!
Step 2 - Take apart your desk chair with a screwdriver. I removed the back and seat portions, leaving the wheels behind. Thankfully, my chair came apart pretty easily! Store the screws somewhere safe (plastic baggie) and on to step 3.
Step 3 - Get out that staple gun and maybe find a friend to help you out. I ended up hauling the two chair pieces to my car, and driving to someone's house who owned a couple staple guns.
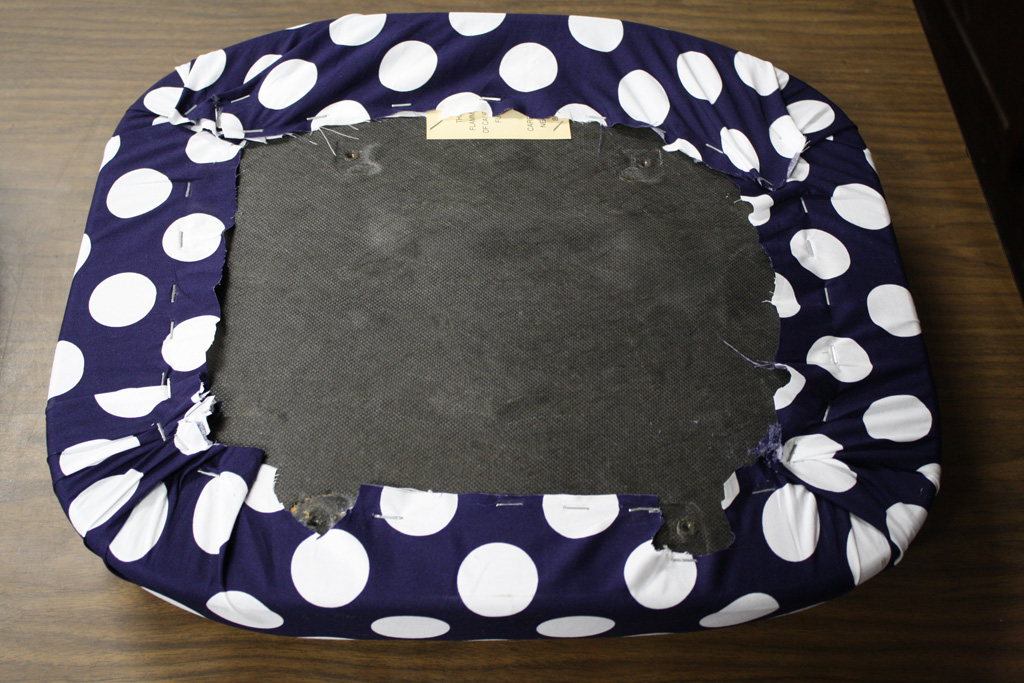 Step 4 - We started with the bottom seat cushion. First, I measured my fabric to ensure I didn't have too much or not enough when it came time to staple. Then we pulled the fabric tight. I held the fabric where I wanted it while my friend used the staple gun. Occassionally adjust the fabric and pull tighter to make sure that it sits well on the chair; nobody wants a wrinkle or bunched up piece of fabric.
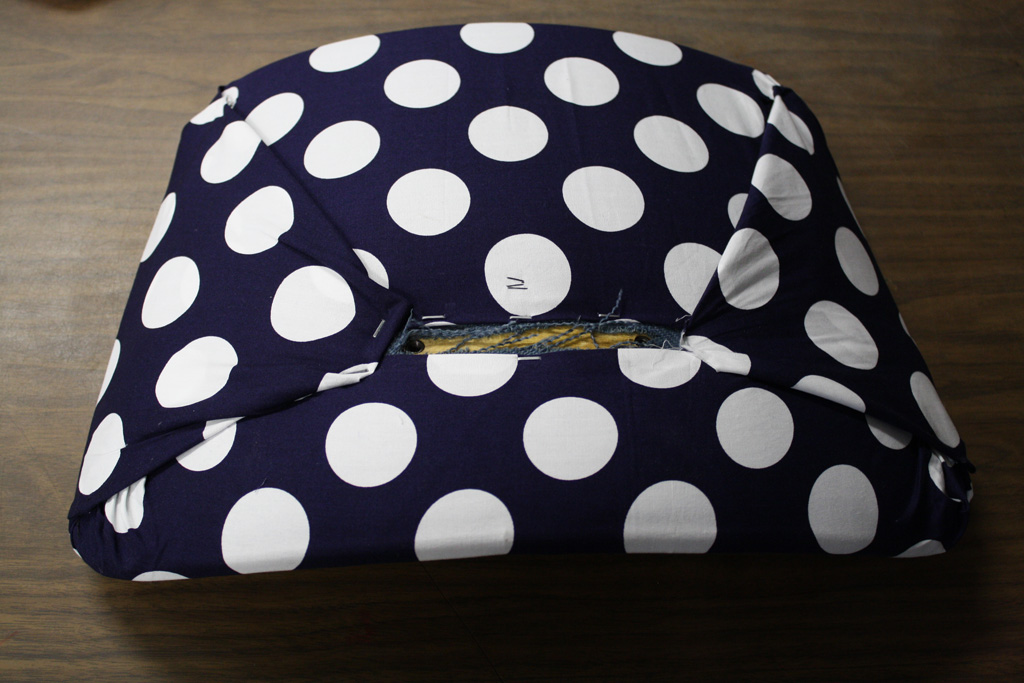 Step 5 - Then it was time for the back of the seat. This one was trickier because there is a small plastic part that covers some of the back and I had to make sure all of my fabric ends met there. I ended up folding the fabric into triangular shapes to get it to work. This one took a LOT of patience, pulling tight, and reorganizing fabric.
Step 6 - Finally, it was back to my classroom to reassemble my newly upholstered chairs! I was able to get it put back together without any issues.
In less than one day, you too can make your boring old chair show your personality! Best of luck on your project and as always feel free to contact me with any questions at casadelindquist@gmail.com. Have fun!