Pinspiration #2: The Reindeer Cupboard

 As mentioned in my previous Pinspiration Post about The Grinch Door, I had my students respond to on our discussion board to the question “What would your dream classroom be?” One of the top ideas was to decorate the classroom.
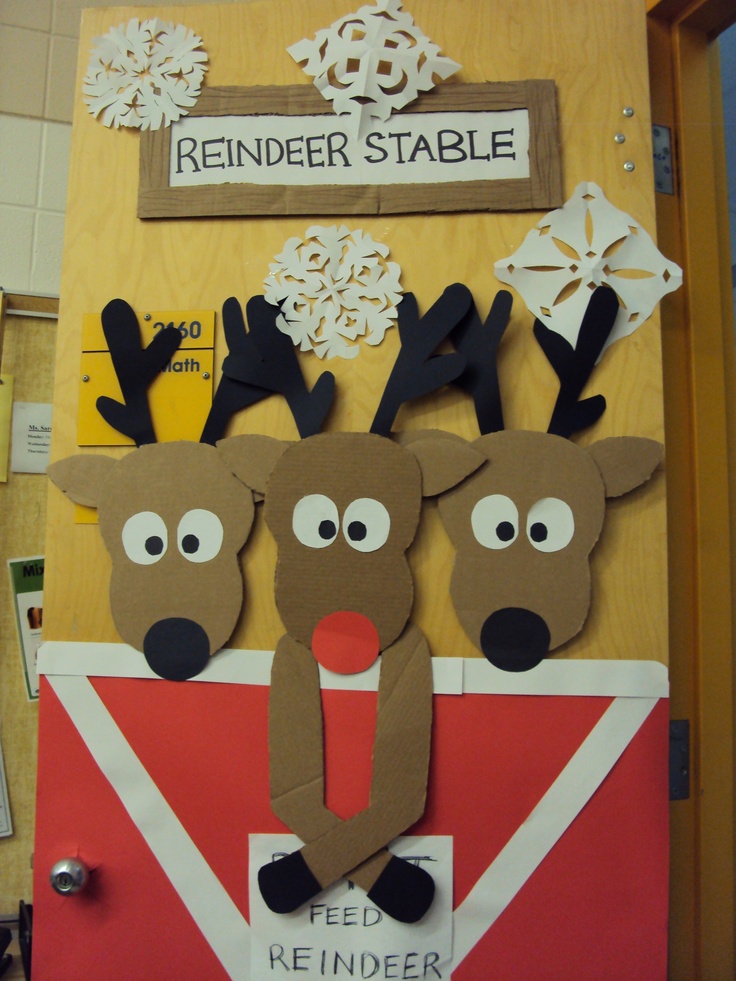
After the Grinch Door, one of my students got Pinspired and found this cute reindeer door (see Pinspiration photo, right). She showed it to me on her phone, and we decided we could make it to put on one of my cupboards.
While my little helpers still lacked confidence in their drawing abilities, they were all happy to help me put the reindeer door together once the pieces were drawn out and ready to go.
Materials:
- Brown construction paper
- Red construction paper
- Black construction paper
- White construction paper
- Red butcher paper (for the “barn” if desired)
- White butcher paper (for the “barn” if desired)
- Glue
- Scissors
 Directions:
1. Gather Materials - First, we had to gather the materials (see the list above). I made a run to Target to get the construction paper. We had the rest of the materials in the classroom
2. Draw and cut out the head – Since the reindeer are all basically the same, I just had to draw one good reindeer and use it as my template. First, I drew the head of the reindeer, and cut it out to use as a template for the other two reindeer.
3. Draw and cut out the antlers – Next, I drew one antler. I folded the paper and half and cut out two antlers at a time. This helped ensure that they would be the same size and style.
4. Draw and cut out the noses – Then, I made 3 oval noses: 2 on black paper, 1 with red paper.
5. Draw and cut out the eyes – From there, I sized up the white parts of their eyes. Again, I drew it once, folded the paper in half, and cut it so that I would get two eyes the same size each time. Then I drew the black pupils on with a marker.
6. Draw and cut out the feet / hooves for Rudolf – Only one of the reindeer has feet showing, so I drew one leg with a bend on brown paper, folded it in half, and cut it so I would get two legs. Then I drew the hooves on black paper and cut.
7. And last but not least, draw and cut out the ears – You could of course do this in a different order, but I’m merely sharing my steps. It was actually comical because I got to school thinking I had all the parts ready to go and it turned out I had completely forgotten to make the ears. So I quickly designed some “lemon-shaped” ears on brown construction paper before my homeroom kiddos came in the door.
8. Glue them together! – Once all the parts are cut out, begin assembling with glue!
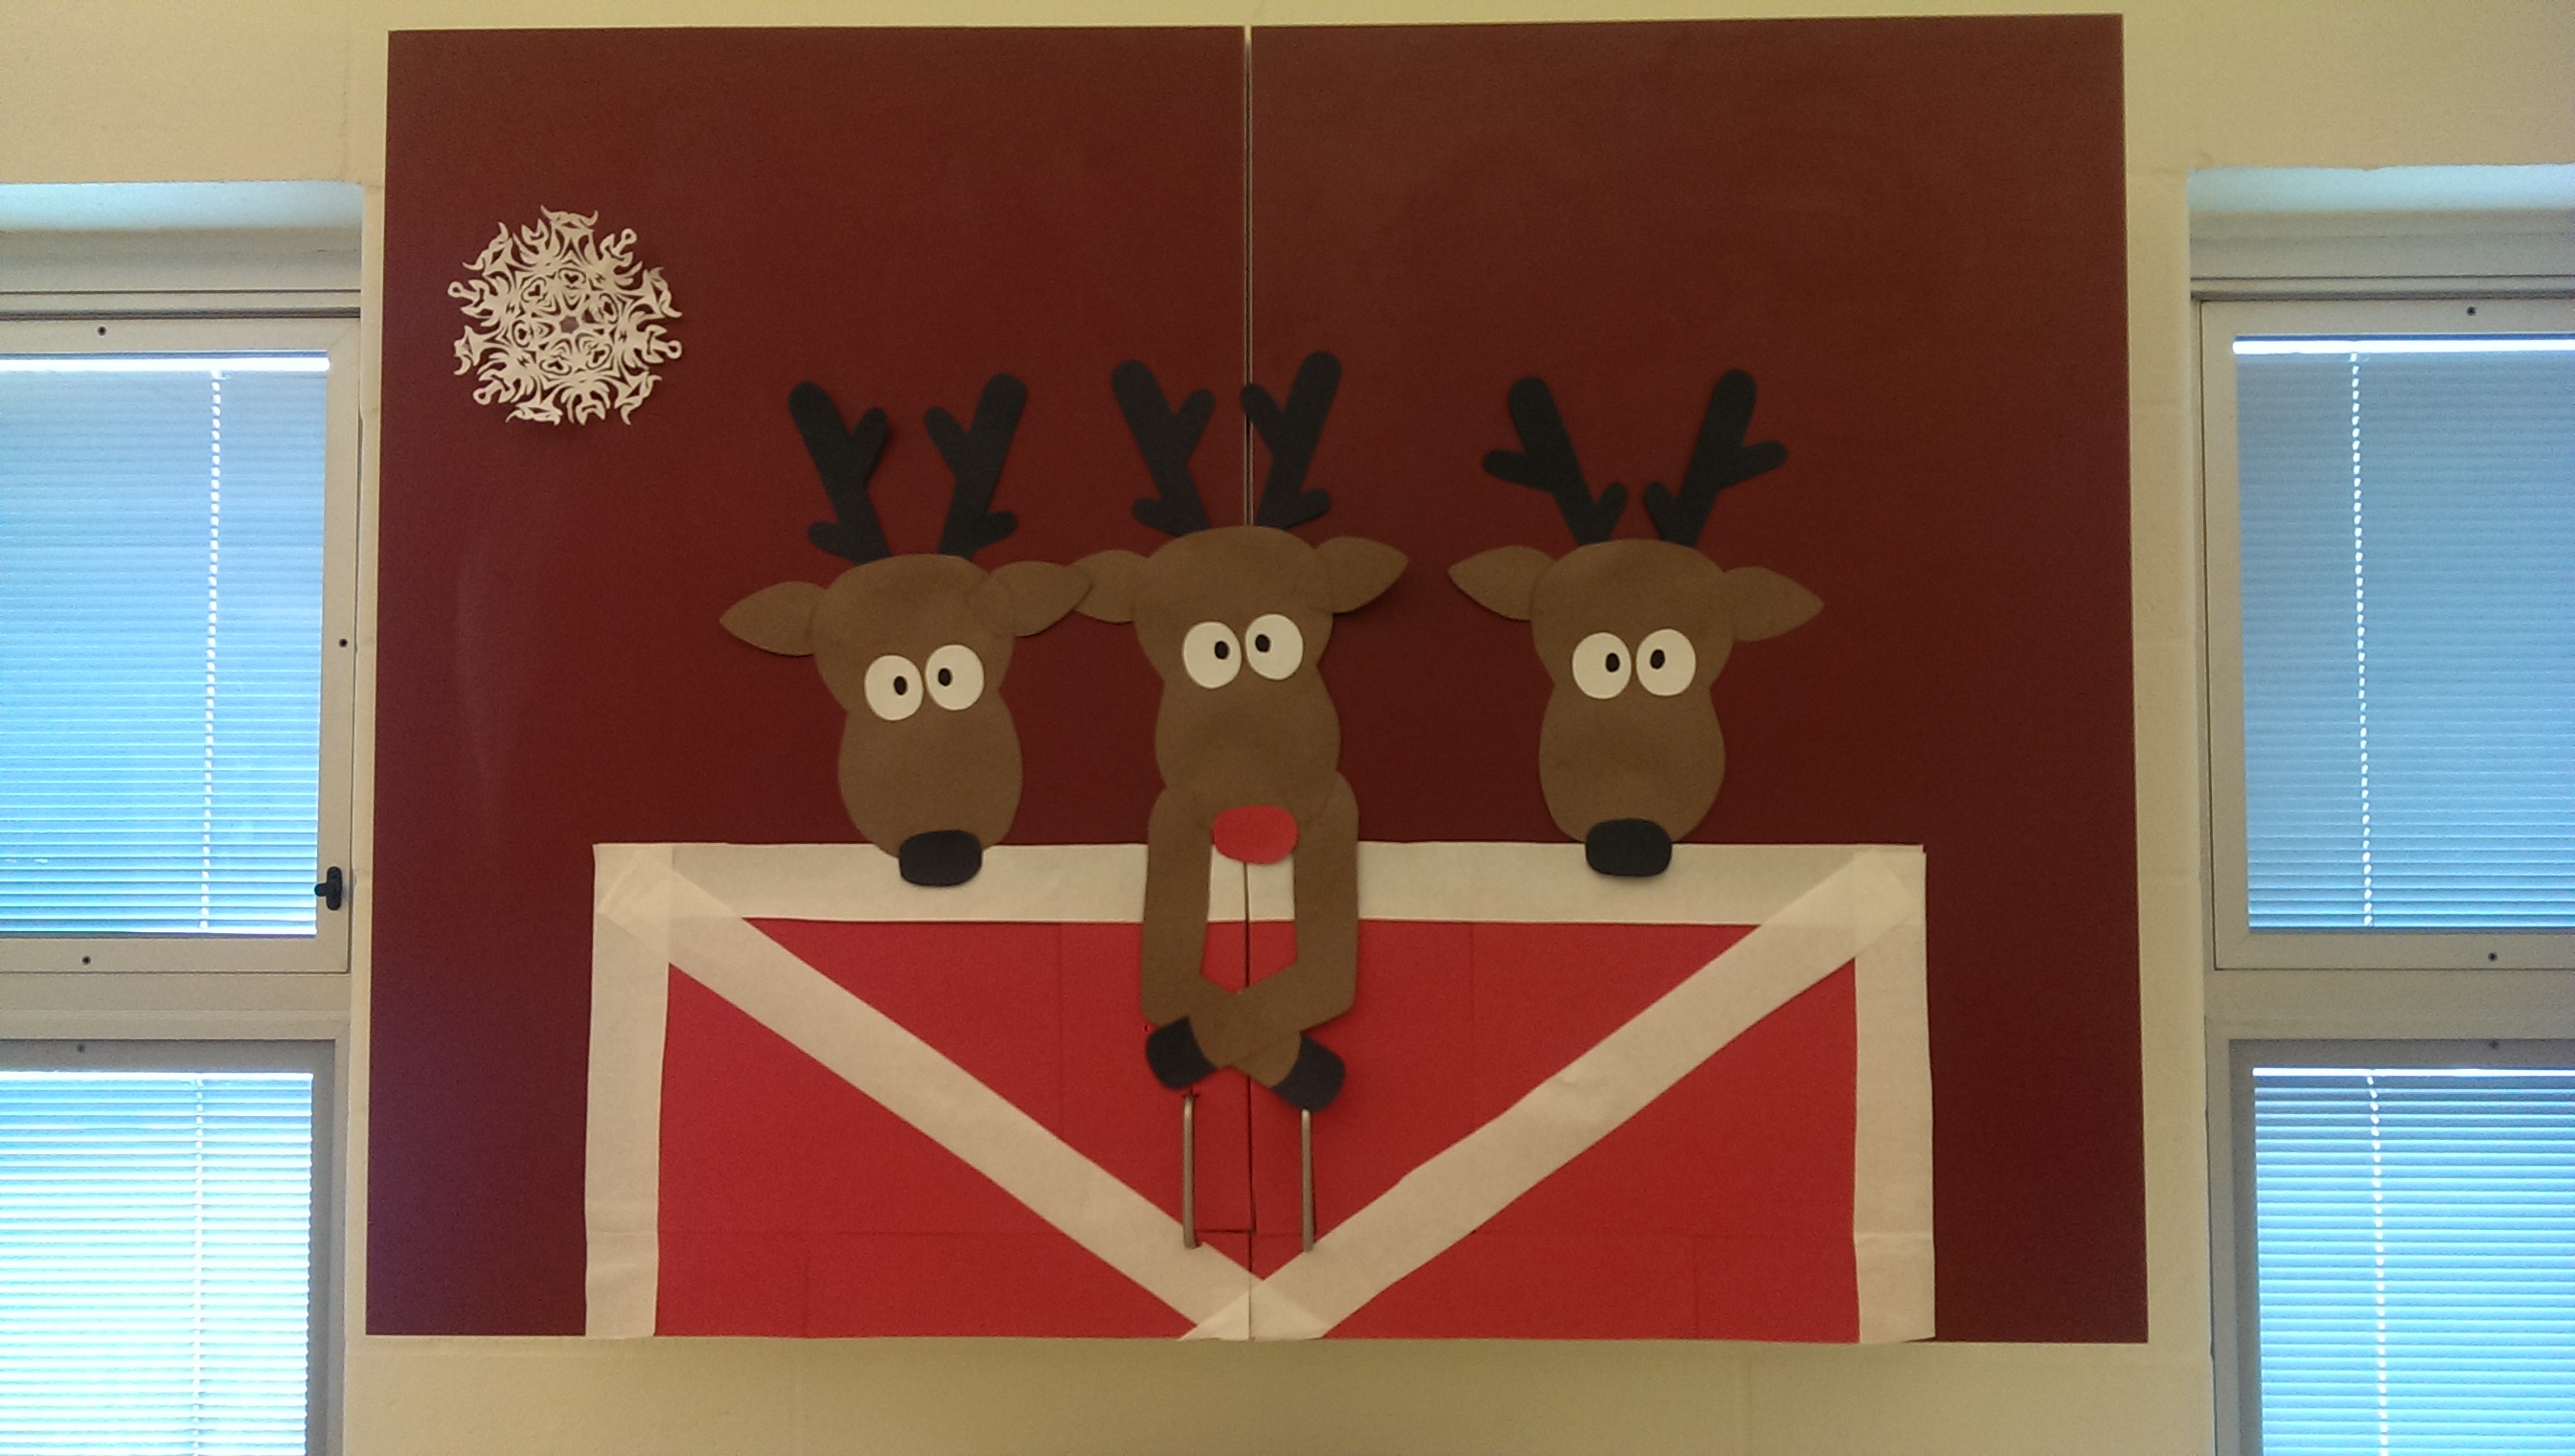
9. Make the barn – I had a student help me put together a makeshift barn-like object on the door of my cupboard. We put the red up first, somewhat haphazardly. Then we added the white accent pieces over the top, which is what made it look like a barn.
I had even cut the paper so that I could open the cupboards, but that ended up being a moot point because I just didn’t have the heart to cut Rudolf in half. Alas, this cupboard will just have to stay closed until after Christmas break.
10. Finally, we taped our reindeer on the door and stood back to admire our work!
11. Bonus: the students decided the reindeer cupboard needed snowflakes, so we learned how to make those and put some up on our door. (Note: most of the snowflakes are not pictured as they were put up after I took the pictures).
Once again, this project combined the students’ desire to see their classroom decorated with some newly developed artistic skills. We once again had to use critical thinking skills to plan it all out and we continued to practice our interpersonal skills! The students are taking ownership of the classroom and enjoy having their work and contributions around the room.
Original Pinterest Post: http://www.pinterest.com/pin/103371753923321118/