Pinspiration #4: Corkboard Project!

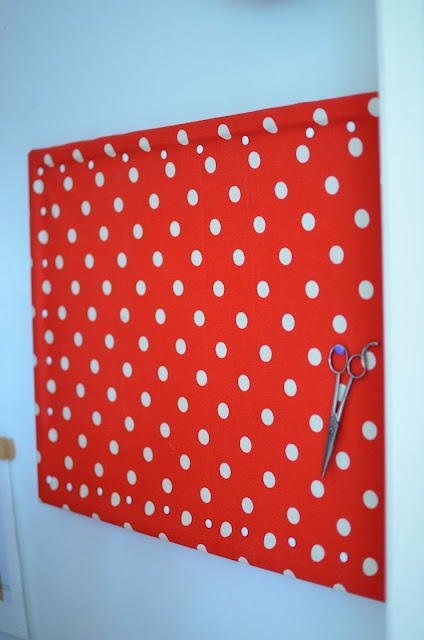 Before school started, I requested the help of my dear friend Marisha for classroom decorating ideas. She is far better at pulling together a space, and graciously sent me the following pin (see Pinspiration photo, right). I loved the idea of a corkboard in my room! She graciously took me shopping to buy the materials and then set me to work assembling.
Materials:
- Plain corkboard
- Fabric (amount depends on the size of corkboard you purchased; I think we bought ½ a yard)
- Staple gun (*I tried using spray adhesive and it failed!)
- Thumb tacks
- Scissors
Directions:
1. Gather Materials – Go to your local craft store. We purchased our materials from Hobby Lobby.
2. Cut fabric – I set the corkboard on the fabric and left about 2-3 inches to wrap around. Then I cut the fabric to size. Because the material will bulk up in the corners, I cut a “V” shape out of each corner of the fabric to prevent that from happening.
3. Staple – Attach the fabric to the corkboard with the staple gun. Be sure to pull the fabric tight. I strongly recommend you have someone help you with this step.
4. Attach the thumb tacks – After the fabric was attached, I pushed in thumb tacks around the perimeter of the front about 1” in from the edge. This will help hold the fabric in place and adds a decorative border.
5. Hang – I brought mine to my classroom and had the custodial engineer hang it from our walls. I originally tried to use command strips, but they just pulled at the fabric and couldn’t hold the weight. After failing twice with this method, I sent in a request to have it hung with wall screws. That worked much better!
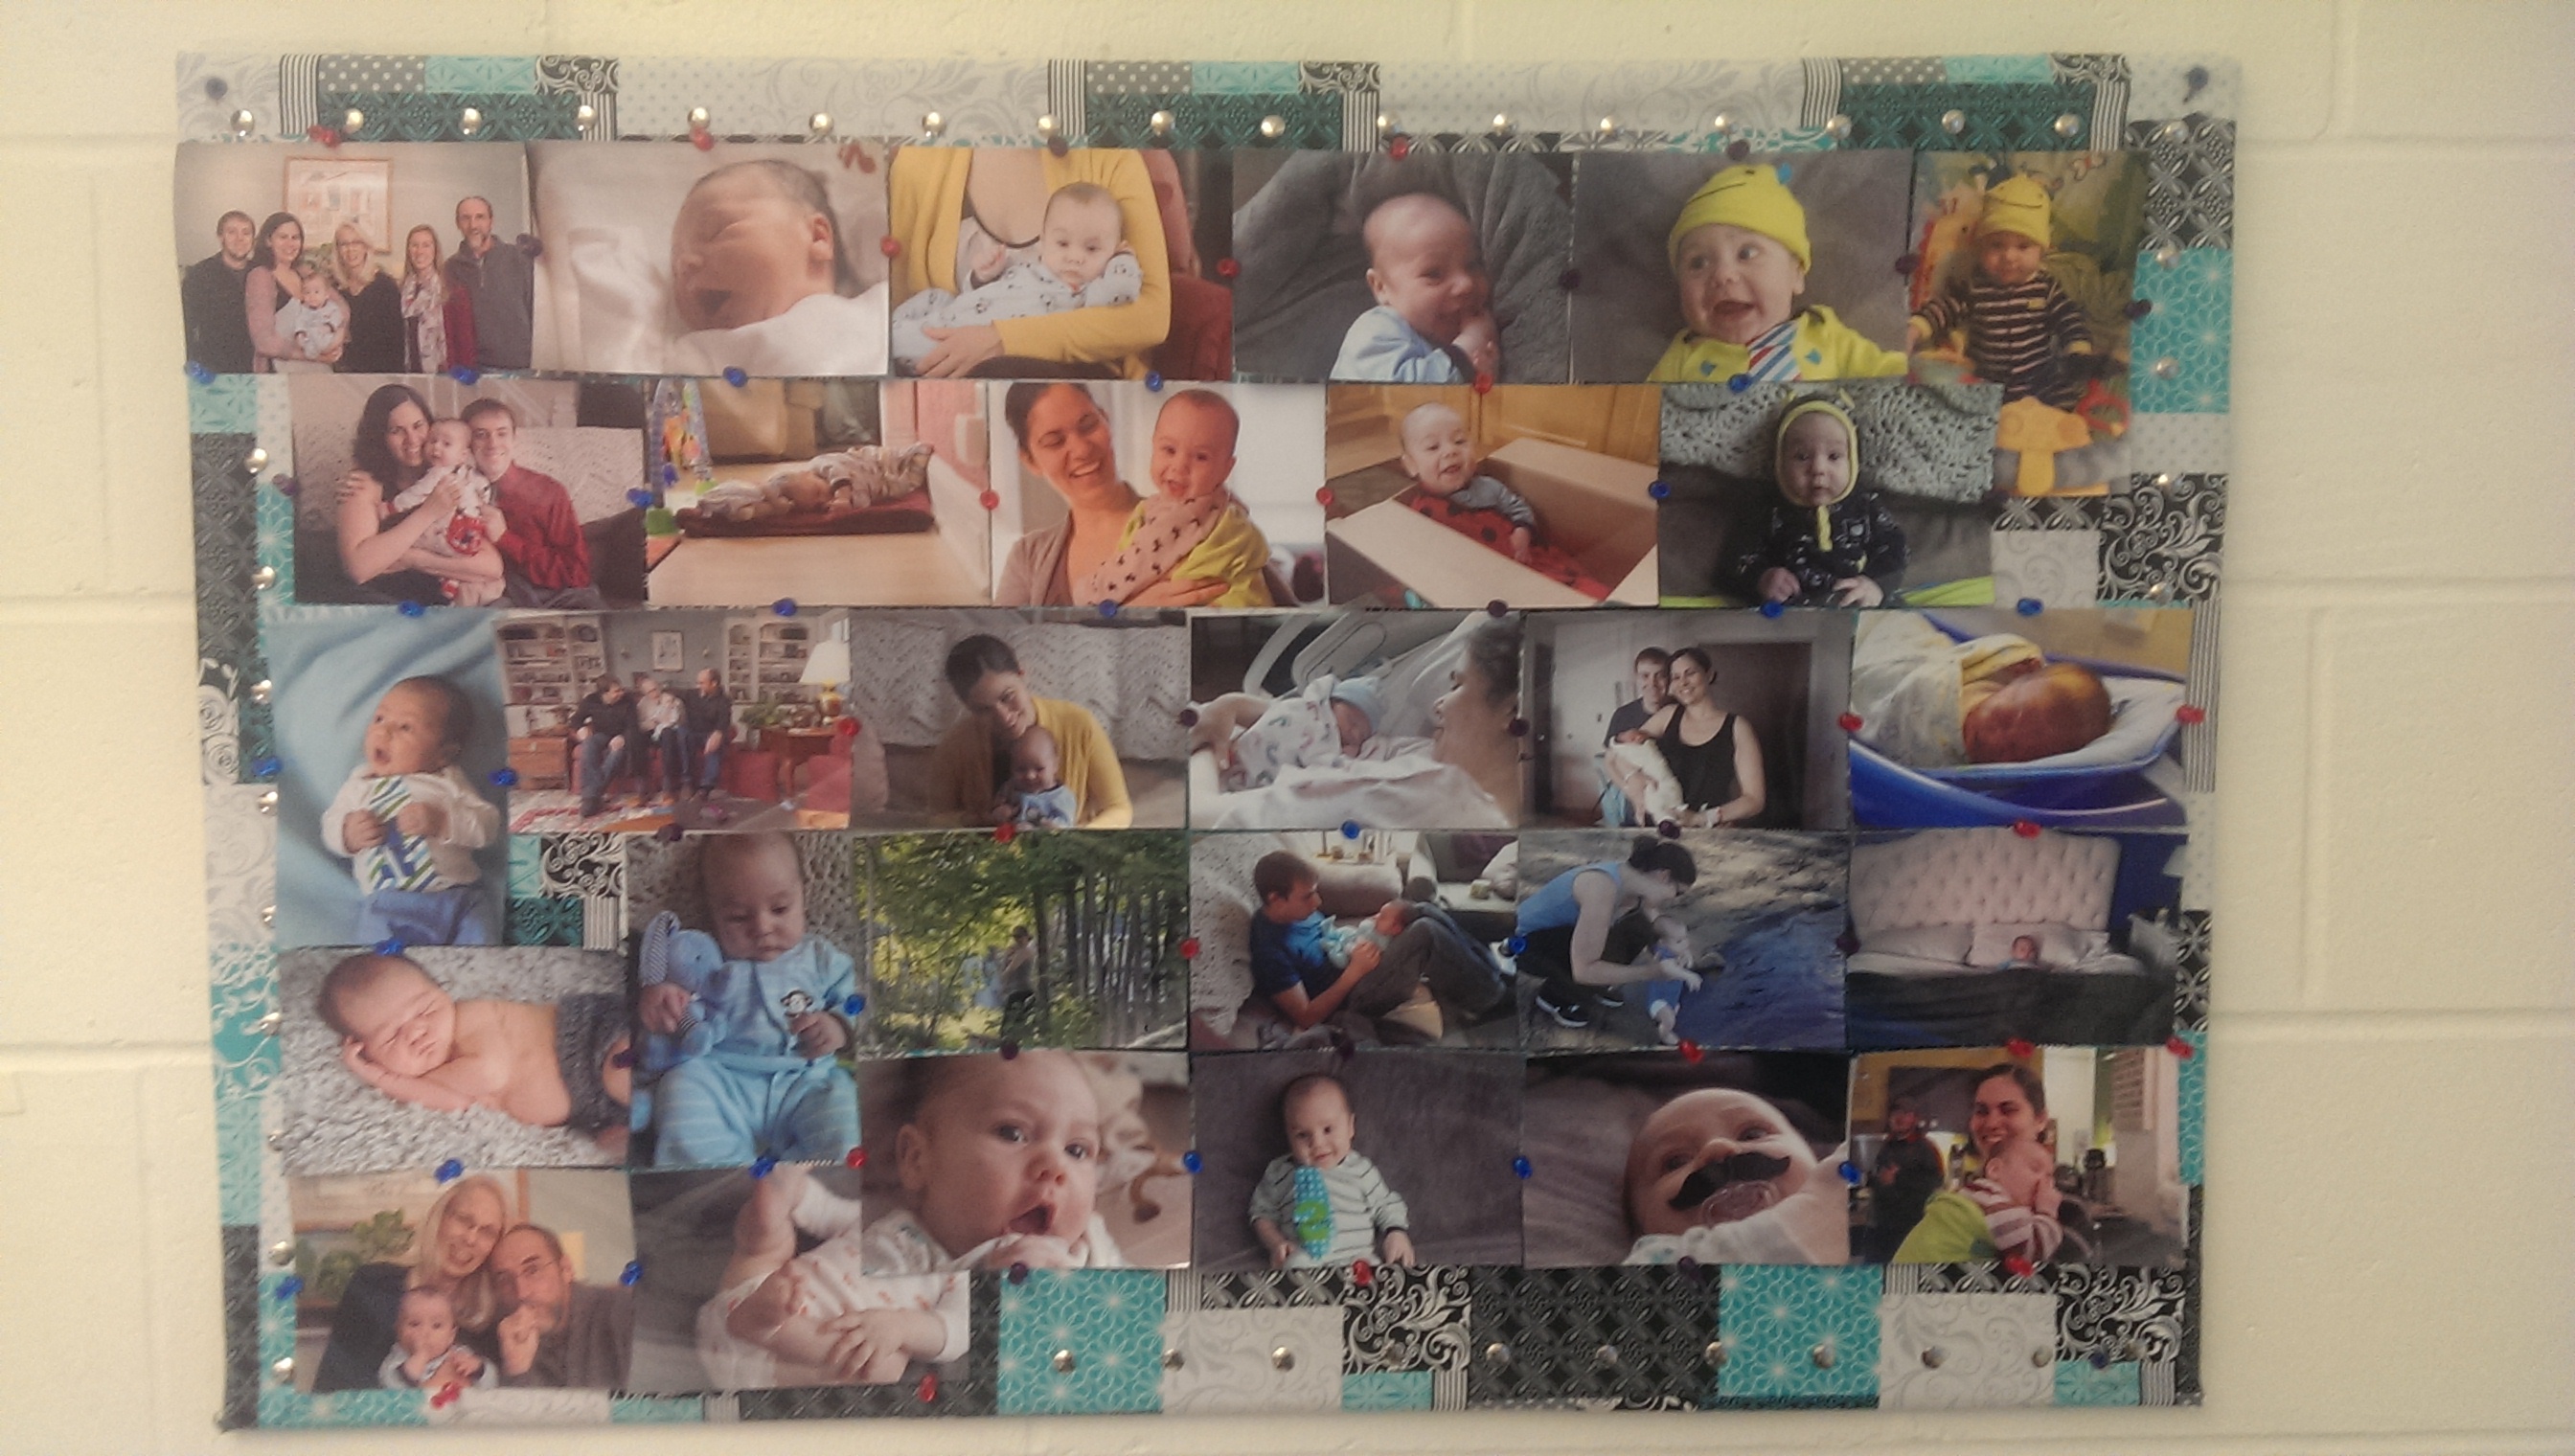
6. Admire your work – After my project was finished, I covered nearly every square inch with pictures of my family. I love having reminders of my little guy and husband as I work.
Original Pinterest Post: http://www.pinterest.com/pin/143411569354107990/